
Last weekend, M, J, and K (who are all the BEST) helped with some prep work. We fixed up the framing where the old medicine cabinet was, built two temporary walls (one simple enough, one a total pain) to support the kitchen and dining room ceiling joists while we installed the new header, and did some cleaning and organizing in the garage and shed. I didn't take any pictures, unfortunately, but this was hugely helpful for getting our week off to a good start!
Monday we basically went to the hardware store repeatedly, but lots of different ones. Devon picked up the DensShield for the shower backer from a specialty building supply place (more on this material below) then together we went to the lumber yard for new headers, posts, and other assorted lumber. This is after we had the LVLs cut to a reasonable length - luckily it's not a long trip home:

After we picked my dad up from the airport, we showed him the project then went to a normal hardware store for lots more general stuff and our first load of drywall.
Tuesday was a day of huge transformation for the kitchen. Here are a couple of before and afters:
 |
| Right after demo |
 |
| After! |
 |
| Right after demo, from inside the kitchen |
 |
| After! |
The wall between the kitchen and the living room is a bearing wall, but only kind of. The ceiling joists switch direction at that point, so bearing on that wall are just the joists from the kitchen/dining side. It doesn't have an roof load or any load from the living room side. I tried my best to remember college structures class to figure out what we needed for the new header. What we installed (2 1-3/4" x 9-1/2" LVLs) is WAY overkill for current loads. We've talked about eventually adding a second floor, though, and we wanted to go ahead and design for actual live loads above. Anyway, we used LVLs (laminated veneer lumber, a type of engineered lumber) because I found them to actually be way easier to size than standard lumber. They're very predictable and the load tables are very readily available and reliable. Here's the sheet from our permit set where I showed the tributary area and load calculations:

The little elevation on the right shows what the whole deal will look like from the living room.
The wall between the kitchen and dining room wasn't supposed to be a bearing wall (it runs the same direction as the joists), but we noticed a couple of struts from the roof bearing on it. We decided that we'd put in a header just to be safe. For that wall I did some really rough calcs and found that a single 2x6 would probably do the trick. So, naturally, we put in a double 2x8 header. More is more, right? For both headers, we used Simpson brackets wherever possible to help strengthen the connections and deal with lateral loads. Here's an ACE4 in place at the big header:

Jumping ahead a little, here'd the intersection of the two new headers. The strips under the LVLs are to deal with the electrical boxes for bar lighting. The 2x4s are just to bring the smaller header down to the height of the bigger one:

Anyway, do you believe that Dad and Devon did all of that framing in less than a day?! It was really fun to see such a huge impact from a day of work. M, J, and K will be pleased to know that the temp wall did the trick and the house did not fall down.
Where was I? Wednesday? I don't remember what happened Wednesday, or with any specificity what happened on Thursday or Friday, for that matter! Devon smushed his phone screen in one of his many trips under the house, so we're a little lacking in documentation. Here are some pictures of some things that happened sometime!
 |
| Dad and Devon working away - you can see half of the temp wall here. |
 |
| I patched up some building paper and insulated the exterior wall in the bathroom. |
 |
| Here's that fancy new utility sink and absurd faucet! |
 |
| New tub! Connecting to the old drain pipe (not touched in the repipe) was apparently not a good time. |
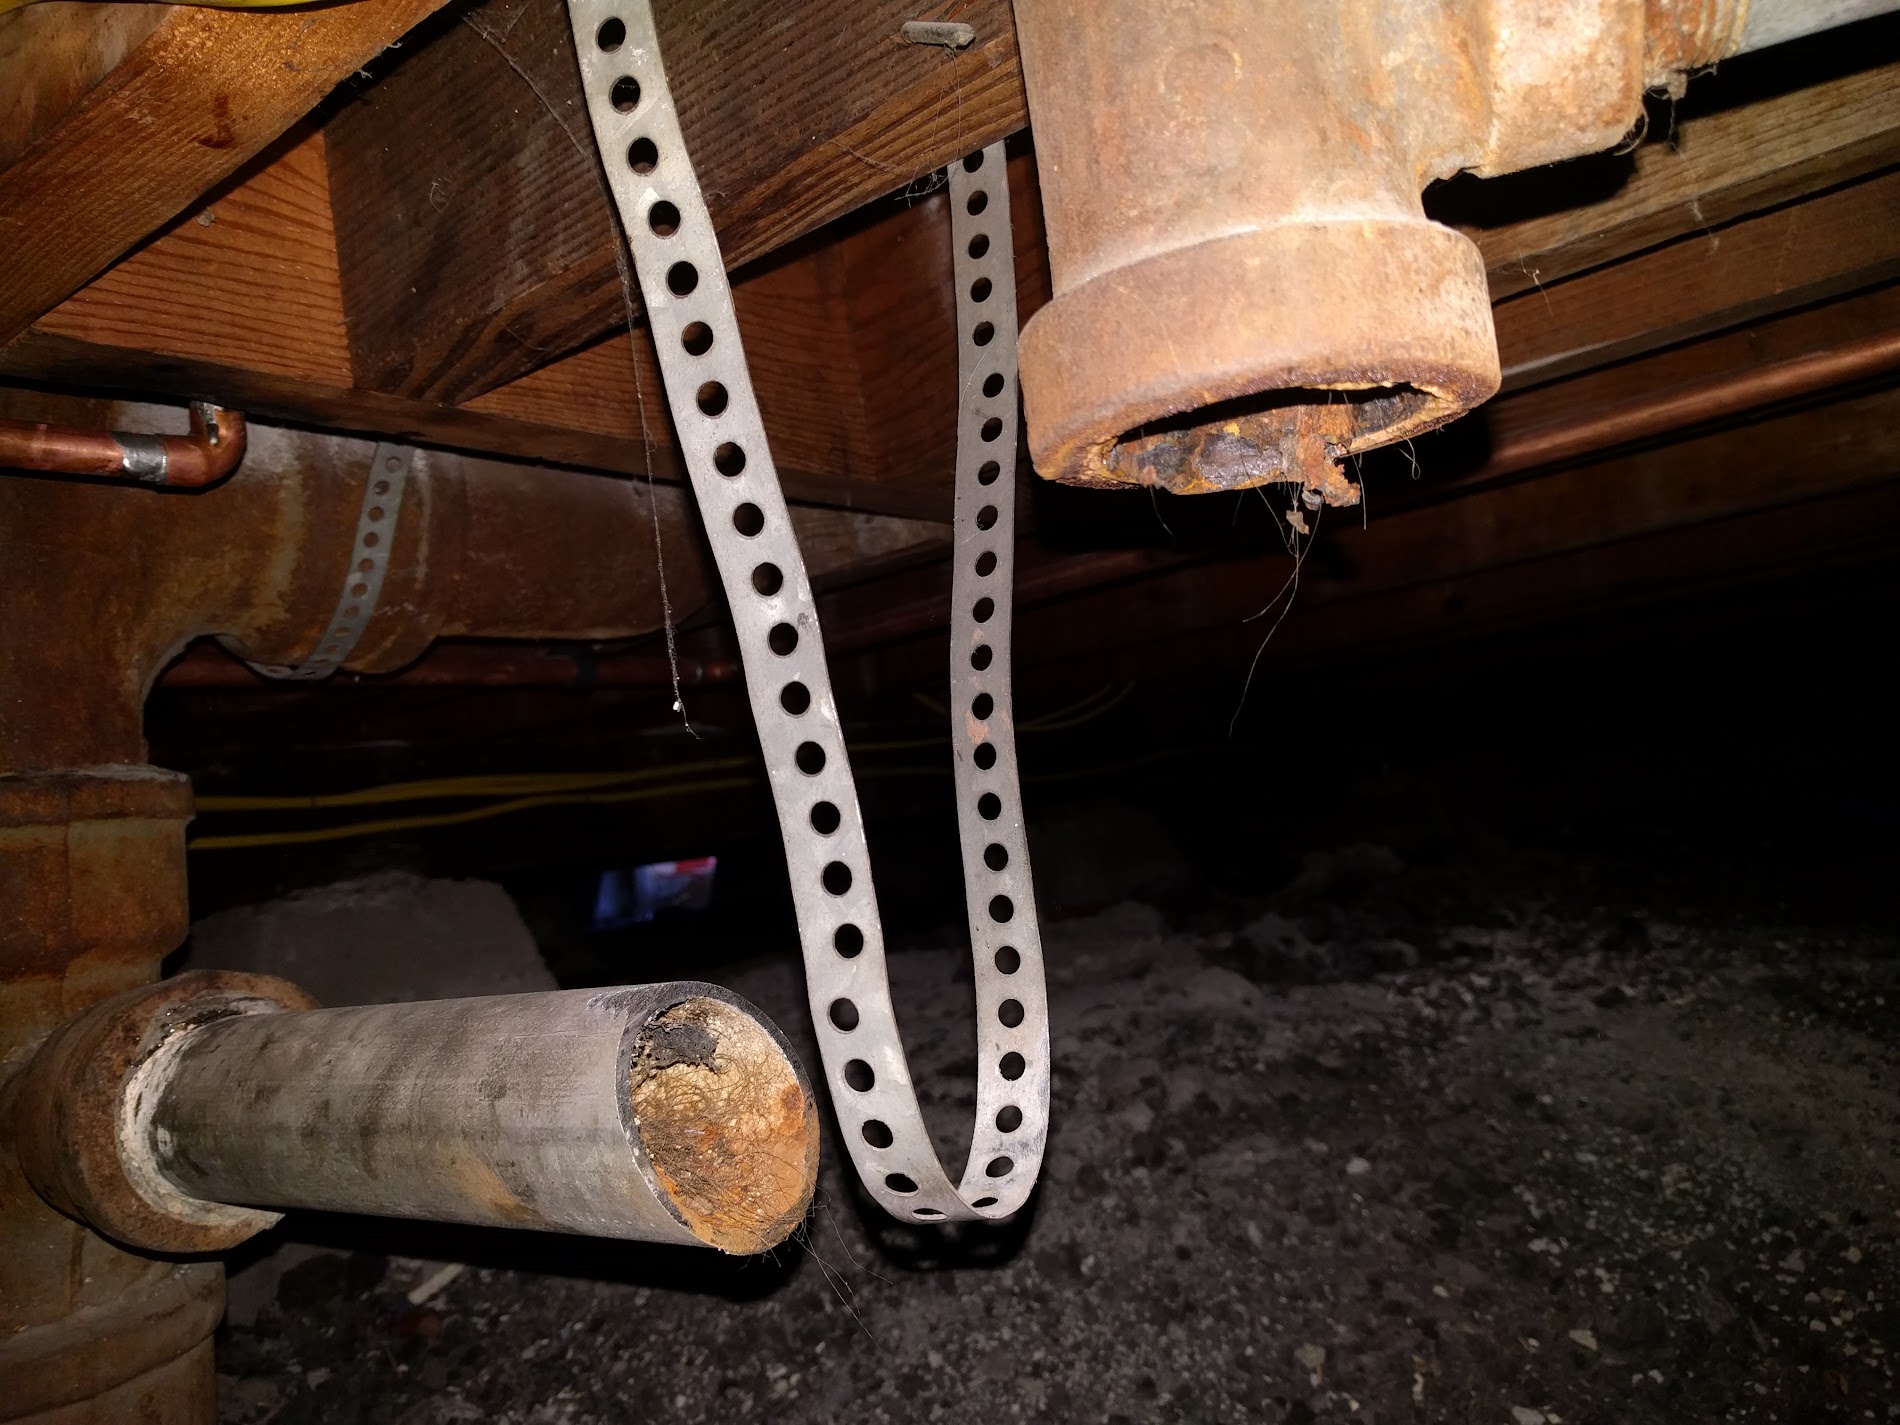 |
| Left is where Devon had to take a sawzall to the old drain piping. |
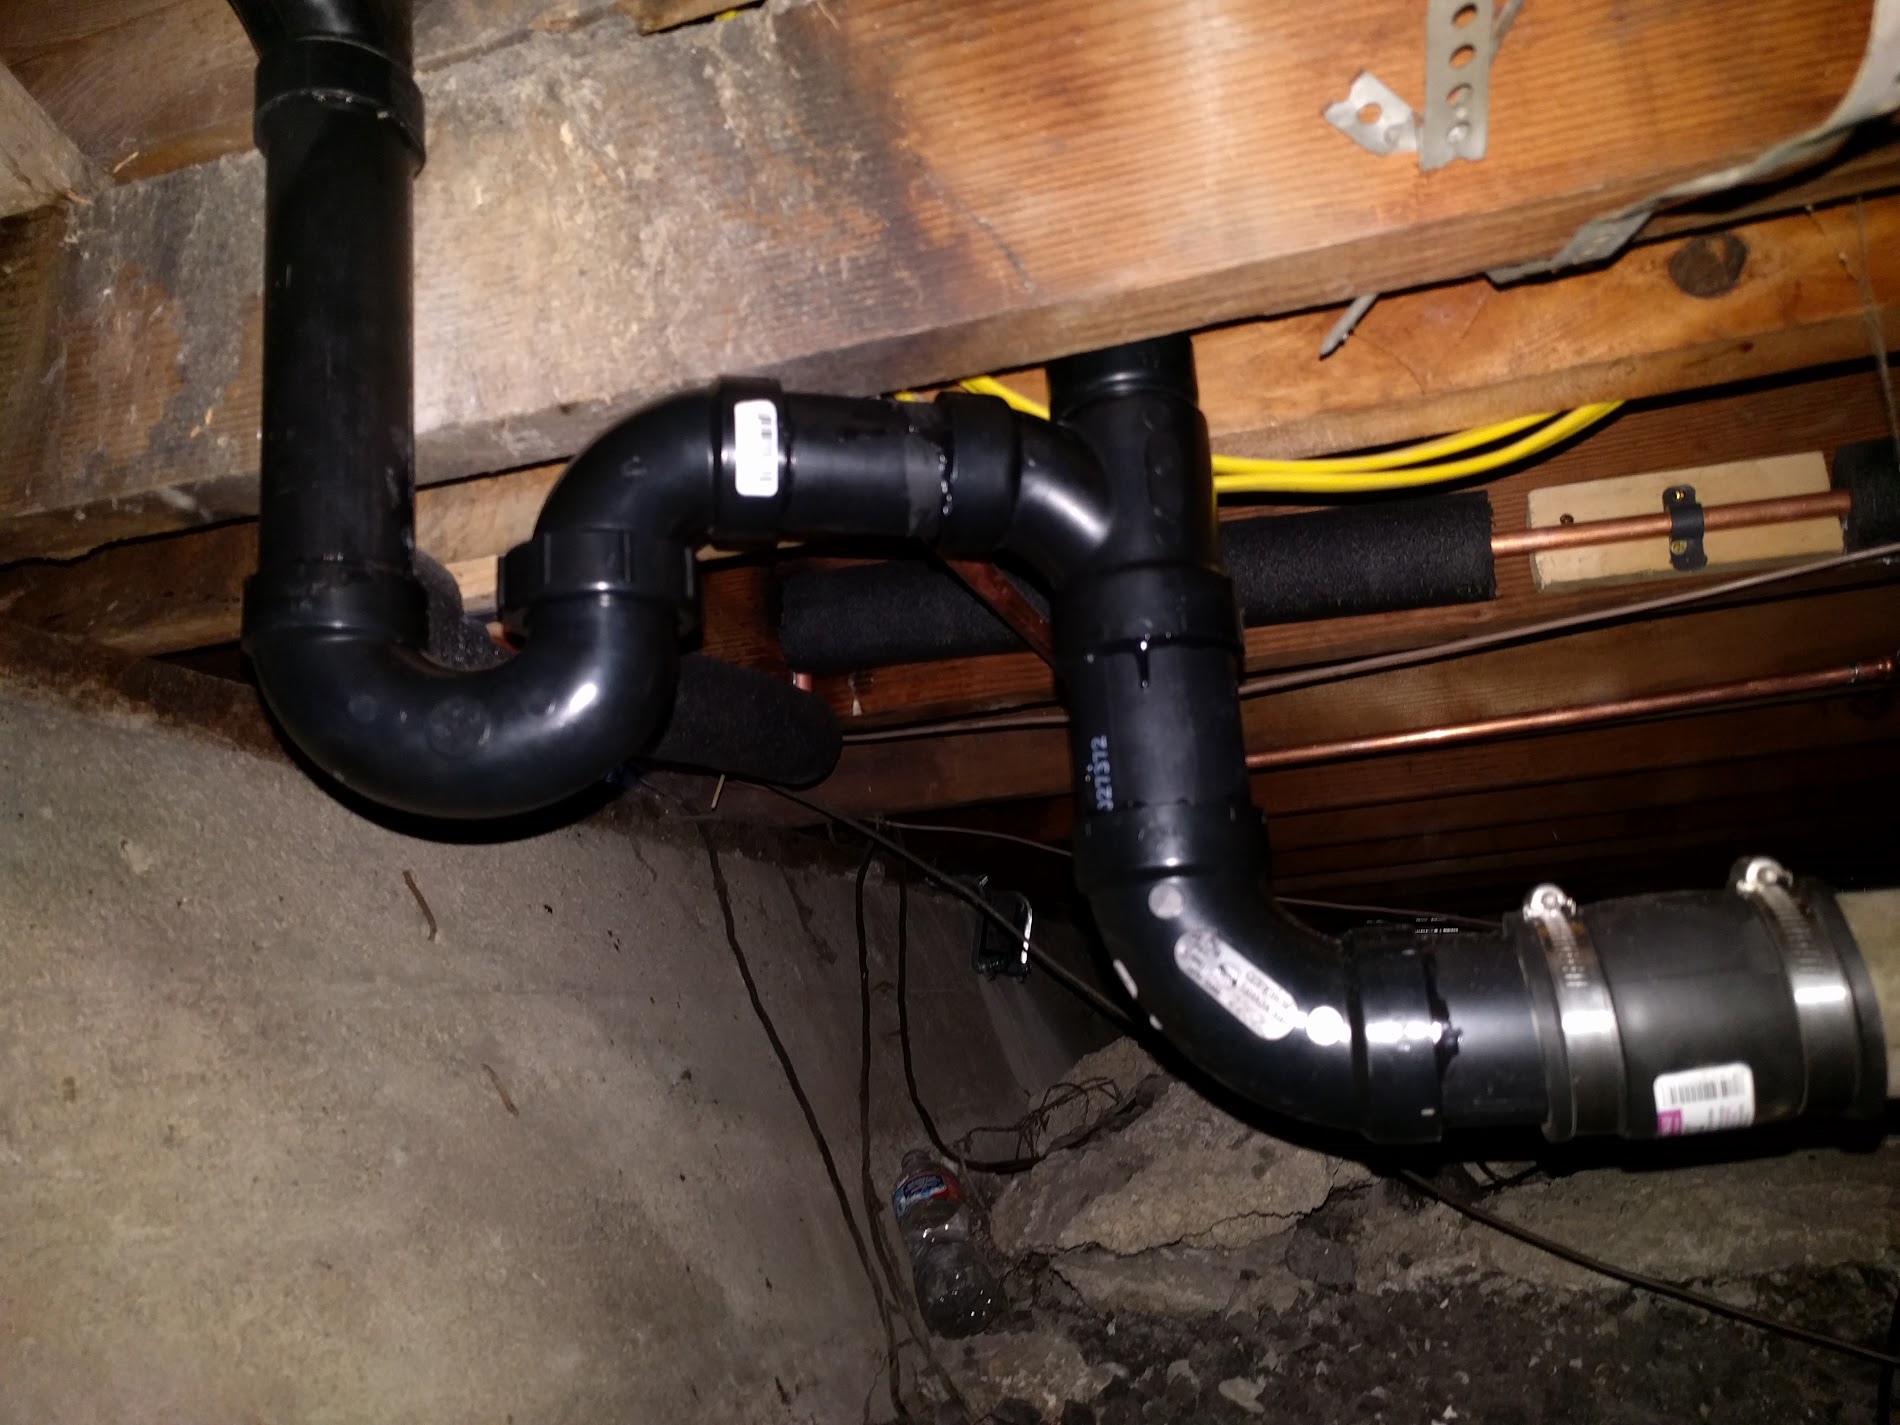 |
| New drain piping from the tub |
Oh, and in some unpleasant but not very visible work, Devon finished up installing some new foundation supports. Since we switched from a bearing wall that was in turn bearing on lots of floor joists to a header that's bearing on two points, we needed to support those points. We used prefab concrete footings and super heavy duty adjustable steel post jacks.


That kind of brings us to today, which I do remember! Dad and Devon had the bathroom floor tile set and a lot of the tile backer and drywall in. They finished up the walls, I taped the tile backer joints and waterproofed the window, and we grouted the floor.
A few shots of the floor tile:
 |
| Set in thinset - Dad and Devon did all of the measuring and fitting on Friday |
 |
| Devon picking excess thinset from between the tiles. So detail oriented! |
 |
| Grouted! |
Here's the shower at the end of the day - DenShield installed, joints taped (fiberglass mesh tape and thinset, per the manufacturer's instructions), and window surround blocked out and waterproofed with RedGuard. By the way, we are no shower experts, but here's why we picked DenShield: For one, it's allowed by the residential building code in California (greenboard is not), it's easy to use (scores and snaps like drywall), and it doesn't require either a vapor barrier behind it or a full waterproofing layer over it. The only requirement is that you seal the seams. I'm nervous about leaks at the window, so that waterproofing to seal up all of the joints and transitions at the window is extra.

We did some kitchen work, too. I insulated the exterior wall with recycled denim insulation: (dusty, but not itchy and fiberglassy!)

Dad and Devon worked on some of the more finicky bits of drywall, like around the light boxes on the header: (they're having to put two layers of drywall in several places. We're not convinced the electrician used the best boxes for the job here, but it's too late now!)

Tomorrow the agenda is to mud and tape the bathroom drywall, put another coat of waterproofing around the window, then start setting tub surround tile.
We're all tired, but it's great to see the progress we're making!
WoW!
ReplyDeleteIn a rural landscape, a worn water tap emerges from the earth, its base encased in layers of mud. Despite the mire, its nozzle stands defiant, ready to dispense life-giving water to parched fields. Nearby, a roll of tape lies forgotten, its adhesive surface collecting flecks of dirt. Yet, in this humble tableau, the juxtaposition of the tap and tape speaks volumes about the human impulse to innovate and overcome obstacles, whether it be to mend a leaking pipe or seal a makeshift shelter against the elements.
ReplyDeleteWater Tap
Mud and Tape