Sunday, March 17, 2013

Workbench Planning and Demo

Two posts in two days?! Don't get used to it!

While we're on the subject of the garage, I thought I'd share our next project. The garage had a small workbench, but it didn't have much in the way of storage and it was generally not that great. You can see it over in the corner under the pile of valuable stuff that was left here.


We spent an exciting Friday evening planning out how we wanted to build the new bench and designing it in AutoCad. Life as a homeowner is exciting!


We need to rent a truck to haul away the debris from the old workbench then buy materials for the new one. Yesterday we decided to spend the afternoon on the demolition portion of the project.

Prepare yourself for the cluttered horror that is our garage:


This is after 15 minutes of cleaning, too! Oh, and the contraption to the right is Devon's brew rig. You should help me peer pressure him into blogging about it.

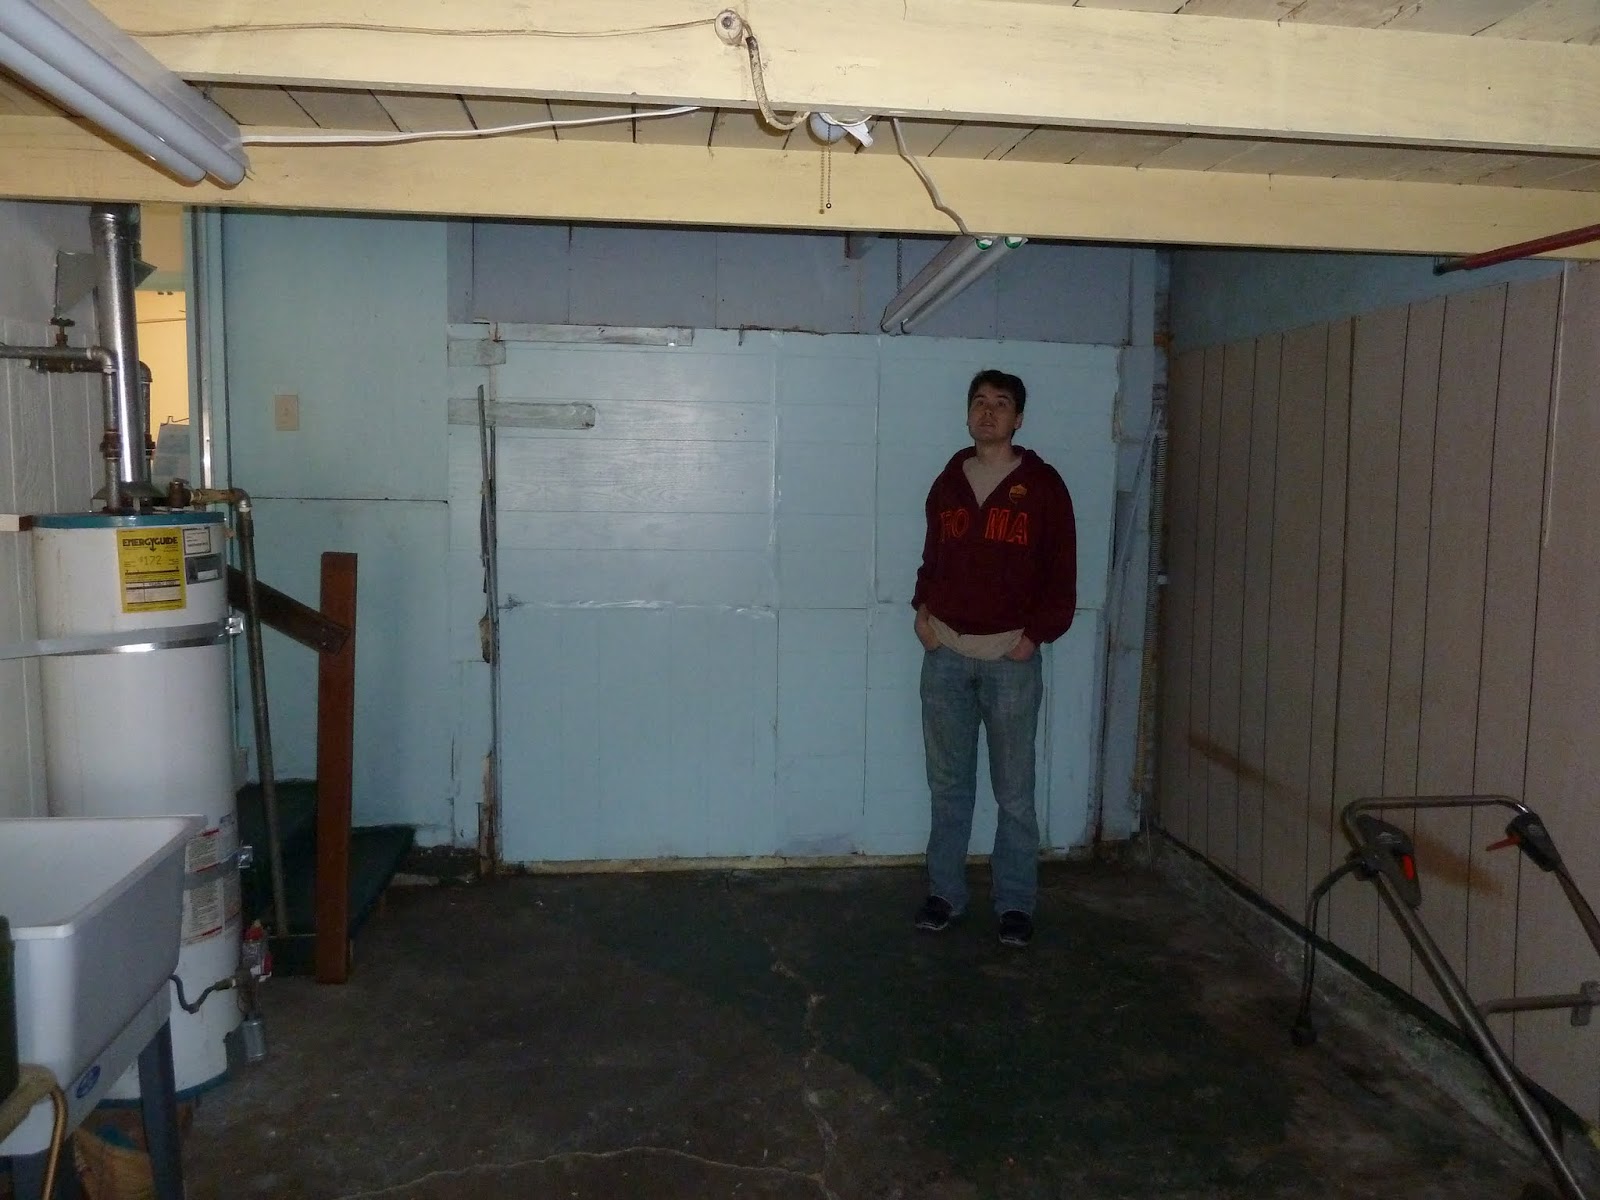
Here's the old workbench after the junk has been cleaned up. Devon is considering mysteries of the universe.


We're going to build the new workbench out from the bare studs, so the awful wood paneling needed to go, for everybody's benefit. Underneath, we found this:


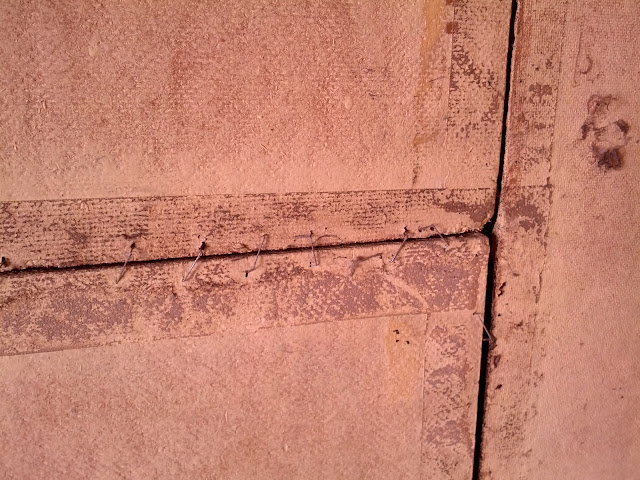
It's Stalwart Sheathing (also called Celotex, I believe), stapled together. There was some kind of masking tape on top of that. So, we decided that this stuff too must go, and started ripping. It all came down pretty easily, since it was held up by staples, small nails, and force of habit.


Inside the wall, we found treasures both living and dead! Living: some cool orange "organic growth". Dead: some kind of bug or bug shell.


We vacuumed up the dead bugs and carried on. The old workbench was surprisingly sturdy, but we won the battle. I think we're going to keep the top boards around for a later project - they're 2x10 redwood and just need to be trimmed and stripped.

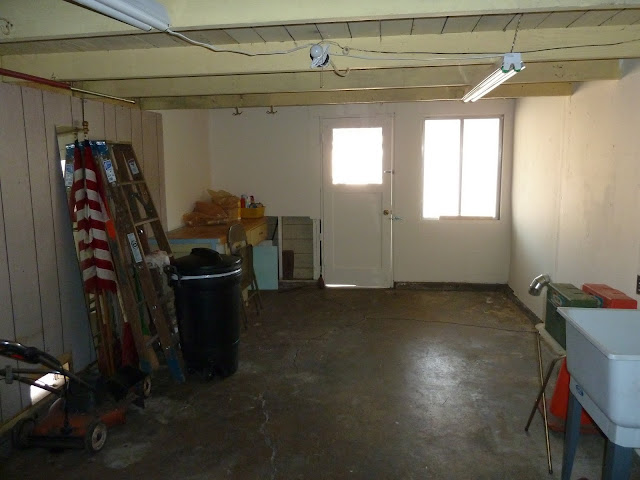
Here's the corner where the workbench used to be. We're trying to pretend that that corner of the garage isn't visibly lower than the rest.


And the whole wall:


As you can see the inside face of the siding is water stained. Someone in the past ripped the building paper from between the studs. (Seriously, past home "improver"?) The REAL fix is probably to reside the house and do it right, but since that's not going to happen right now, we might just clean and paint and leave the siding/studs exposed. There's no requirement for sheathing on that wall, and no real need to insulate.

Stay tuned for another post about the fate of that wall and the new workbench!

Saturday, March 16, 2013

A New Garage Door

For the first time since 1989 (best as we can figure), our house has a functional garage door! We have so much stuff in there that we will likely never put a car in the garage, but it's SO nice to have outdoor access for big stuff and the ability to vent the space while working/brewing in the garage.

When we moved it, it looked like this:


It LOOKS like a door, but it's a lie. On the inside, it looked like this:


It was covered over with paneling, which was secured with tape and 2,000 tiny obnoxious nails.

Step 1 was to rip down the paneling. The door itself was, naturally, super gross.


One side of the door hadn't had a working spring in some time, so that was pretty easy to take apart. The spring on the other side was still engaged, so we really took our time and made sure not to kill ourselves with a rouge spring. Success! The spring hardware was apparently meant to stay put for the long haul:


After much cursing (as with most projects around here), we removed the spring hardware and all of the random bits of wood holding the door in place. It was sometime during this process that we found some newspapers shoved next to the door (weatherproofing, obviously). The oldest one was from 1989, so we assume that the door hasn't moved since at LEAST then.


It dawned on us that we had to make some really substantial progress before we were allowed to go to bed. If we still wanted the contents of our garage to be there in the morning, that is.


I'm going to spare you most of the painful details of the new door installation, for your own good. The short story is that we should have thrown the directions out the window before we even started, because not one single thing worked per the instructions. Our house is old, nothing is square or level, and garage door installation instructions are terrible. I guess this is why normal people pay a guy to install a new garage door?

Here is Devon working on the first panel. If we had this to do over again, or if I could give you a piece of marital advice for your own garage door installation, I'd say this: buy his and hers ratcheting wrenches in the right size. There's so much stuff to attach to the door panels, and it's an enormous pain without the right tools.


It was sort of like building a fort once we got going.


But as these things always go, as soon as we got the rhythm down, we ran into a huge problem. We got a reminder of the fact that nothing is level or square. As we stacked the panels, we could no longer connect them to one another because the whole door frame was so out of whack.

The diagonal pencil line is where we needed to chisel to to make the frame vertical. Sooo we bought a nice set of wood chisels! We wouldn't have any fun tools at all if nothing ever went wrong.


I'm fairly sure that we had to remove the first two panels and start over after the chiseling, but I've sort of blocked it out, to be honest.

By the end of the day, we finished our fort. We didn't even get started on the tracks, but at least we didn't have a giant hole in the house.


We had to shim one side of the door up a whole bunch in order to approximate level.


Day 2: Time to install the track. The attachment brackets didn't work for our set-up at all, so there was MUCH cursing and voiding of the warranty. Here's Devon installing our own special version of the attachment hardware.


This was my view from the loft. One thing that I must admit worked amazingly well was the level of the rails. We were able to attach them directly to the floor of the loft.


This brings us to the photo I posted awhile ago as a pop quiz:


It's hard to see, but the door was hitting the spring mounting bracket when raised. We used your standard brute force repair:


It works! We actually kind of hate the lock that came with the door, but we haven't gotten around to finding a new/better one.


An embarrassing number of weeks after the door was functionally complete, we finally removed the temporary trim (needed to prop the door against before the tracks are installed) and put proper trim, weather stripping, and fresh paint on the exterior.


All done! This was kind of a big project, but very worthwhile. We actually don't think a garage door installer with half a brain would have touched it, so it's probably just as well that we stubbornly did it ourselves.

Today we started on our next garage project, which is what finally prompted me to write this post. Maybe I'll post about this new project in a more timely manner! Maybe...